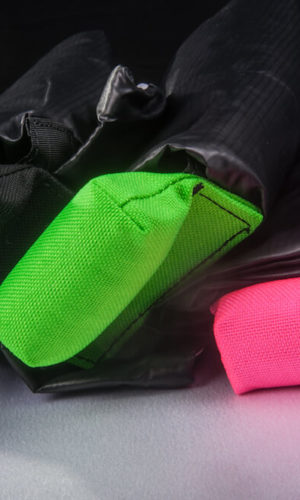
Easily found when you need it most.
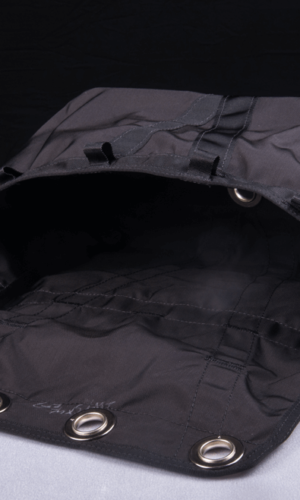
The Mirage cutaway handle is pocketed inside the main lift web, not just Velcro’d to the back. This provides maximum protection from dislodging, especially if taking harness grips. In addition, the cutaway handle has an anti-roll stiffener to help prevent it from rolling under the lift web and out of reach.
You can squeeze your Mirage cutaway handle all you like; it will never go soft or flat.
Limited Life Components
The components of any device tend to wear out after repeated use, and the fabric materials in your Mirage are no exception. Experience has proven that some fabric components are subject to more wear than others and need to be inspected frequently, and replaced periodically. These items are considered to be Limited Life Components.
The following Limited Life Components should be checked often and replaced periodically. The service life of these components is a recommendation based upon experience:
- Main and Reserve Closing Loops – Replace when frayed. If in doubt, replace.
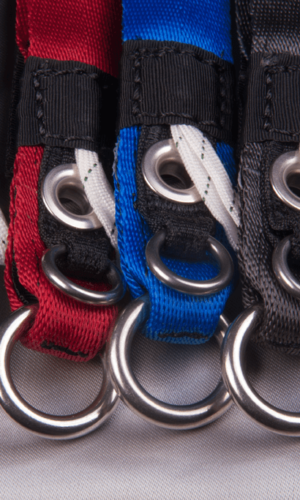
- Main Risers – Type 17 main risers should be replaced every 200 to 400 jumps. Type 8 risers should be replaced every 300 – 500 jumps. All Risers: check the Type IIA fabric loops often since they can be easily damaged and are subject to accelerated wear. Replace risers if Type IIA loops are frayed, or if webbing is damaged.
- Main Pilot Chute – Replace every 200 to 400 jumps or sooner if damaged or excessively worn. Handles should not be replaced.
- Main Deployment Bag – Replace every 300 to 500 jumps or sooner if damaged or excessively worn.
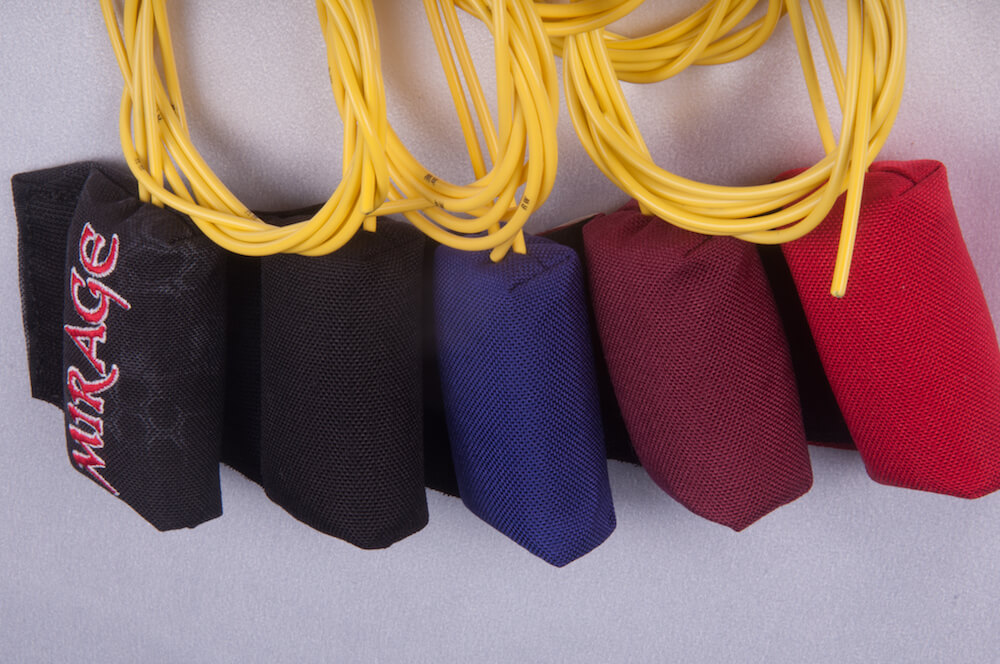
- Spandex Main Pilot Chute Pouch – Replace when torn or excessively worn.
- Harness Leg Straps and Chest Strap – Replace when frayed or damaged, or if slipping excessively through hardware adjusters.
- Reserve Deployment Bag Safety Stow – replace if nylon covering of shock cord is frayed, or if rubber strands inside break.