


G4 Owner’s Manual – 20 – Pullout Pilot Chute Packing Instructions
1. A strip of binding tape is installed on the top of collapsible pull-out main pilot chutes to aid in cocking the pilot chute.
CAUTION! – Collapsible pull-out main pilot chute bridles do not have a window to verify that the kill line is cocked.
If you are unclear about any of the procedures described here, ask your instructor or a rigger for assistance.
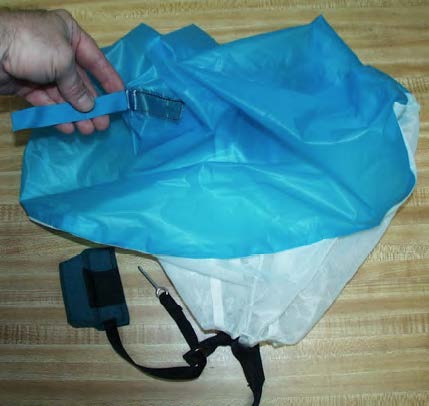
2. After placing the main canopy in the container, remove all twists in the bridle, and check that the pilot is cocked.
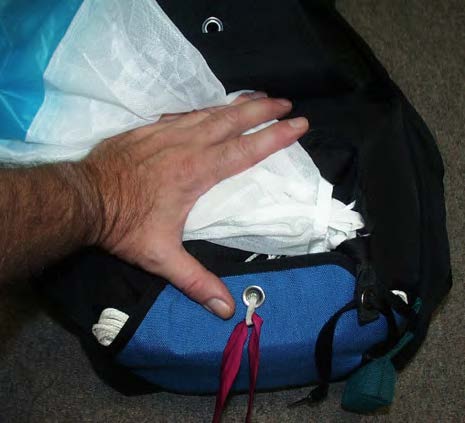
3. Prior to closing flaps 1 and 2, insert the handle freefly tab under the edge of the main container flap, as shown.
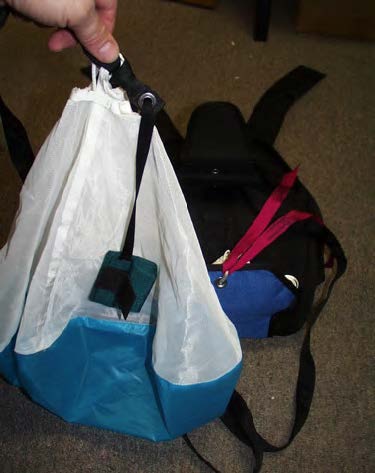
4. Neatly fold the bridle and place on center of the main deployment bag.
5. Place bridle under pilot chute.
Place pilot chute bridle attachment at the bottom right side of container (for right-handed user).
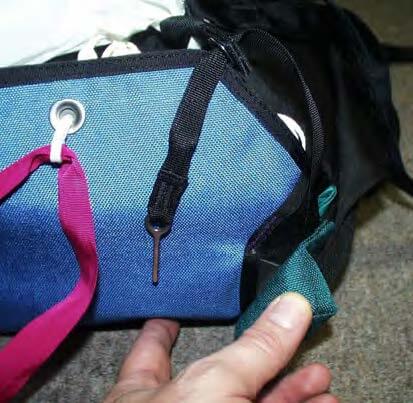
Make sure grommet tab is extending out of container on top of bottom flap.
Pin lanyard must move freely through grommet.
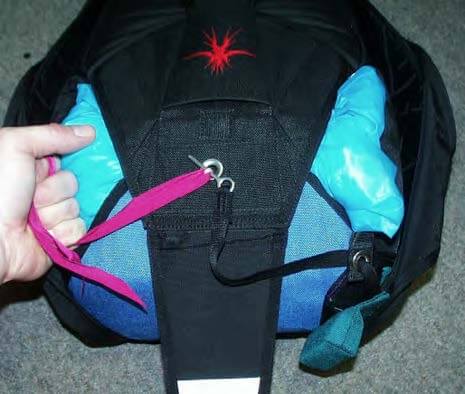
6. Fold the pilot chute canopy back over mesh and close flaps 1 and 2.
Important – Make sure the pin lanyard runs directly from the straight pin to handle through the tab grommet.
Tab must remain in bottom corner of container, as shown.
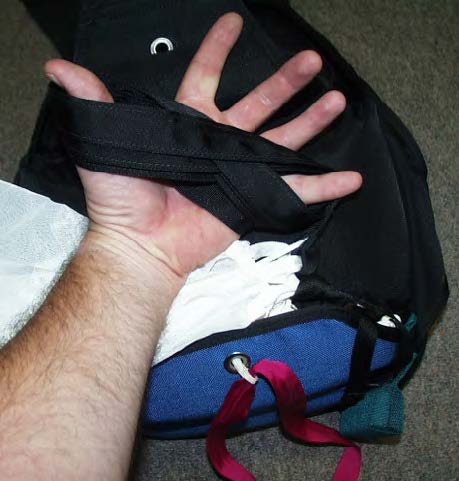
7. Close flaps 3 and 4.
Important – Make sure the grommet tab remains in bottom right corner and is free to pop down easily as shown.
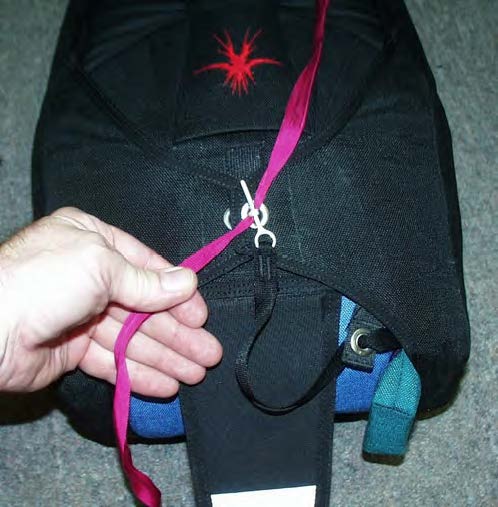
8. Tuck lanyard and tab under the side flap and close pin cover.

CAUTION!
Get instruction if you have never packed or used a pull-out pilot chute.
Practice deploying the main parachute on the ground.