


G4 Owner’s Manual – 9b – Installing An Automatic Activation Device (AAD)
To Install An AAD In A Mirage
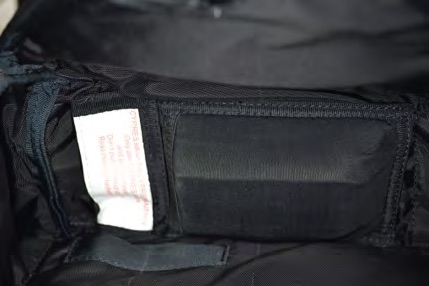
1. Wrap the excess control unit and cutter assembly wiring around the perimeter of the processing unit and place it into the spandex pocket located on the bottom flap of the reserve container.
Note that the wires exiting the processing unit are nearer to one side.
Place this side against the bottom flap.
A small rubber band may be useful in keeping the wires in place on the processing unit.
Note
There are two types of AAD pockets used in Mirage containers. One features openings in the corners of the closing flap that the control unit wire cable and the cutter assembly wire should be passed through, and the other has a strip of velcro for the closing flap that the wires must pass under.
2. Pass the control unit through the opening provided in the reserve pack tray.
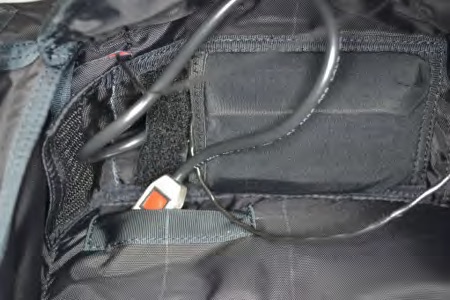
3. Route the control unit and wire cable through the pack tray, exiting at the top right, as shown.
Make sure to leave slack in the wire cable to prevent pulling the control unit out of the spandex pocket when the reserve is packed.
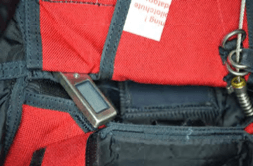
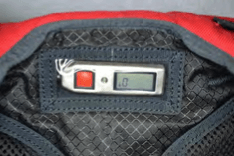
4. Place the control unit into the spandex pocket provided on the back pad.
The display must be visible through the clear vinyl window.
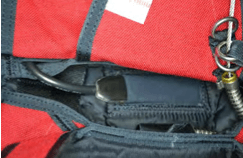
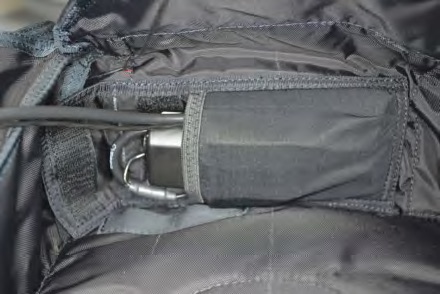
5. Thread a pull-up cord through the elastic AAD cutter keeper and through the reserve bottom flap, exiting the slit provided near the AAD spandex pouch.
“Super-tack” or Cypres loop material works well for this and is provided on new assemblies.
6. Tie the AAD cutter assembly to the pull-up cord and pull it through the No. 3 flap and into the elastic cutter keeper.
Leave enough slack in the wire to prevent strain on the cutter when the reserve is packed.
Remove the pull-up cord.
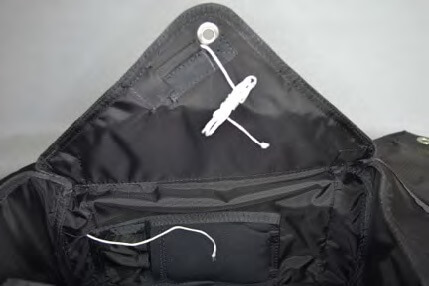
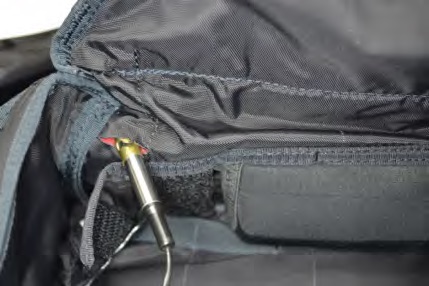
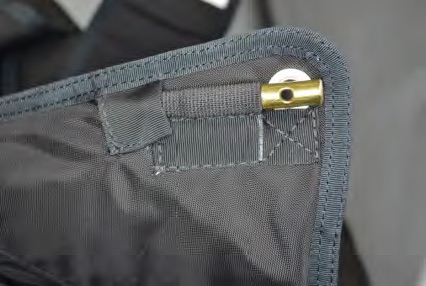
7. Align the hole in the cutter assembly with the grommet of the No. 3 flap.
8. Close the cover on the AAD pocket.