


G4 Owner’s Manual – 13 – Installing A Reserve Static Line (RSL)
“No Velcro” RSLs are used on all Mirage models manufactured after January 2008.
Previous RSLs used velcro to attach the RSL to the left rear reserve riser.
A Mirage RSL Is Optional
The RSL on your Mirage G3, G4.1, or RTS is an optional accessory. All models are approved for use with the RSL installed, installed but not engaged, or not installed at all. Use of the RSL may not be desirable under all circumstances. If you are not sure if an RSL is right for you, get advice from a qualified instructor.
WARNING!
An RSL should not be relied upon to activate your reserve! Always pull your reserve ripcord when the main parachute is released, even if you think the RSL is engaged!
The RSL WILL NOT open the reserve parachute if DISENGAGED from the main riser. It also MAY NOT FUNCTION AS INTENDED IF IMPROPERLY INSTALLED OR DAMAGED. Your rigger should inspect it periodically for proper installation, wear, or damage.
Caution
Only RSLs made by Mirage Systems, Inc., are authorized for use on Mirage harness and container systems.
How It Works
The RSL is a simple, passive system consisting of a short lanyard (static line) connecting the left main parachute riser to the reserve ripcord. When the main parachute is released, the RSL pulls the reserve ripcord shortly after the left riser leaves the harness ring.
A quick release shackle on the RSL allows the main parachute to be released without opening the reserve parachute. This feature is useful in certain situations, such as landing in high winds, breaking away from an entanglement with another parachutist, or for main parachute maintenance. Questions about how to use an RSL can be answered by a qualified instructor.
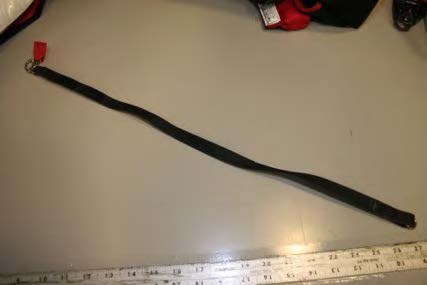
Mirage RSLs are made in three lengths, 23”, 24”, and 25”.
- If your Mirage has a 25” or 26” ripcord, the correct RSL is 23” ; if it has a 27” or 28” ripcord, the correct RSL is 24”; and if it has a 29” or 30” ripcord, the correct RSL is 25” .
- Contact Mirage Systems, Inc. to determine the correct length ripcord to use if you have lost yours. You will need to provide the serial number of the rig.
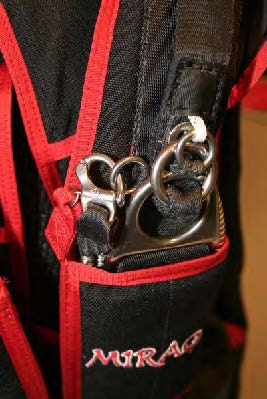
The RSL consists of a short webbing lanyard with a quick release shackle at one end, and a small ring at the other. While a very small Velcro patch is needed to retain slack, none is exposed that could damage the rig.
Installation of the RSL
To begin installation of the Mirage RSL, fold and press the Velcro patches together that are near the release shackle.
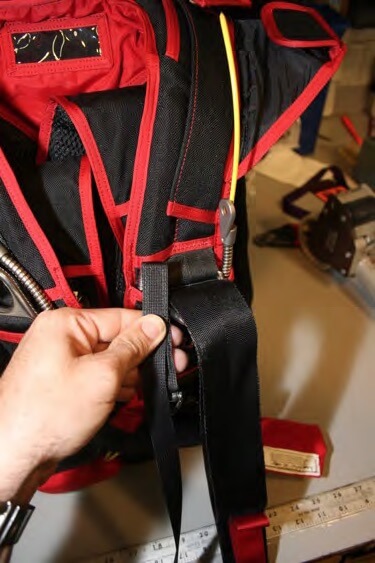
With the quick release shackle down, insert folded RSL into ripcord housing channel.
The hook portion of the quick release shackle should be facing outboard, and the tab should be facing inboard.
Loosely route the remaining RSL toward the reserve container.
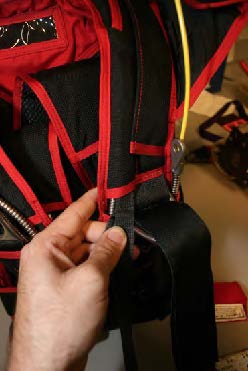
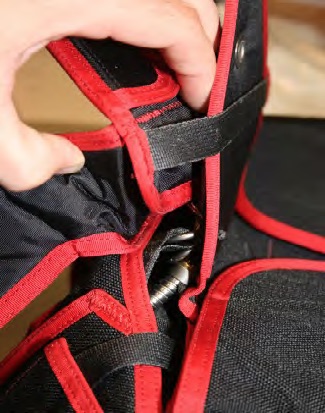
Remove any twists and place it under the flap on the RSL retainer.
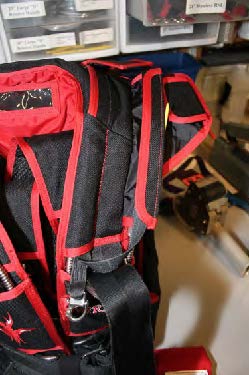
Close the RSL retainer.
Remove any excess slack between the cover and the ripcord channel, but don’t pull it too tight.
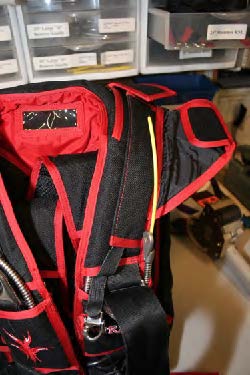
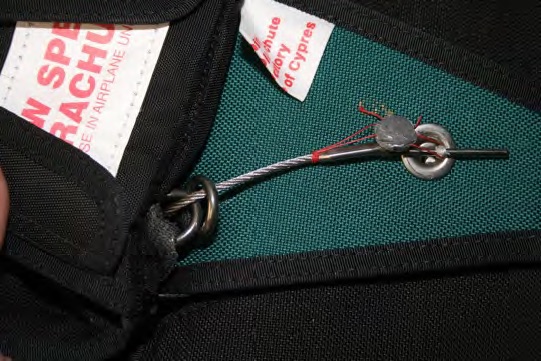
Route the RSL directly to the guide rings on the reserve pin flap.
Be sure to remove any twists.
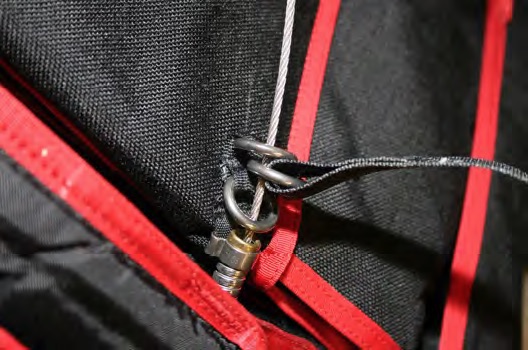
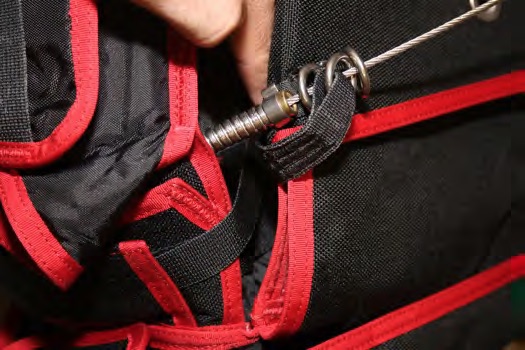
The ripcord cable must pass through the first guide ring, the RSL lanyard ring, and the second guide ring, after exiting the ripcord housing.
Neatly stow excess RSL lanyard between the yoke and the top of the reserve container.
Don’t pull tight.
Model G4.1 ONLY
Pass the ripcord pin flap through the retaining loop on the protector flap AFTER the RSL has been assembled.
When the reserve is packed, almost no RSL should be visible on the outside of the container.
Attach the quick release shackle to the ring provided on the riser.
Mirage RSLs were designed and tested to be used with risers made by Mirage only.
The attachment ring location MUST BE BELOW the riser grommet.
Risers made by another manufacturer may not have the attachment ring in the required location.
Always have a qualified rigger inspect your risers to determine if they are compatible with the Mirage RSL.