


G4 Owner’s Manual – 19 – Closing The Main Container
Lift the packed deployment bag over the reserve container and set it just below the main container.
Make sure not to twist or rotate the bag as you do this.
Stow the risers, left and right, alongside the reserve container.
Fold the secondary riser covers down over the stowed risers.
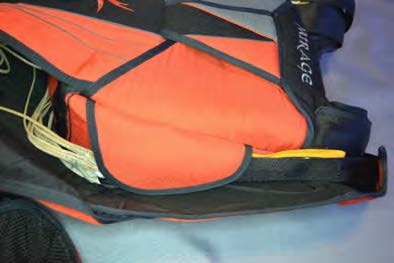
Fold the riser covers up over the risers and insert the riser tuck tabs in their pockets on the yoke.
Place the ends of the risers to the outer edges of the main container and spread them apart to reduce bulk in the center of the container.
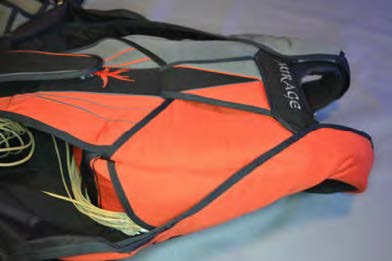
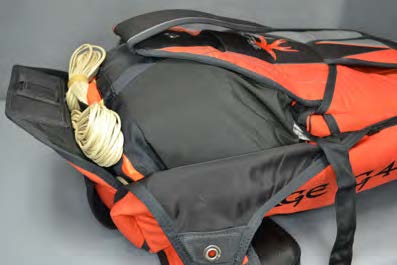
Fold back the main container flaps and place the packed deployment bag into the pack tray, with the suspension lines down and the bridle up.
Lift up on the top flap and rotate the top of the bag toward the reserve container, while pushing it downward into the bottom of the main container.
Make sure the bag fills the bottom corners of the main container.
Roll and push the top of the bag down against the bottom of the packed reserve container.
With the bulk evenly distributed, the packed main container will have a smooth appearance.
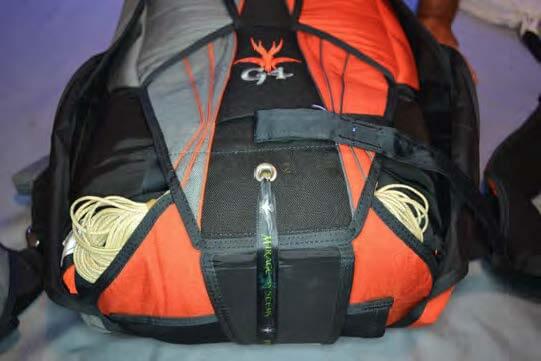
Route the bridle on top of the bag and out the right side of the main container.
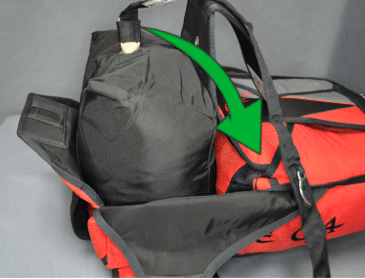
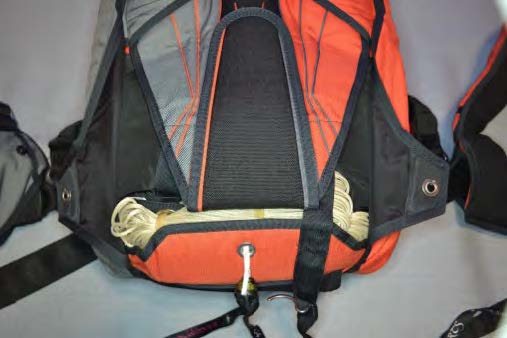
Inspect the main closing loop on the No. 1 flap and thread a pull-up cord through it.
Thread the pull-up cord through the grommet in the No. 2 flap and close the flap by pulling the pull-up cord toward the bottom of the main container until the closing loop is completely through the grommet.
Pushing up on the No. 1 flap while pulling downward on the pull-up cord can help.
Make sure the bridle is routed out from under the right side of the No. 2 flap.
Helpful Hint
Kneel on top of the No. 2 grommet and pull-up cord in the middle of the bag with one knee while preparing for the next step.
This will prevent the closing loop from withdrawing, keep air from expanding the bag, and help fill the corners of the main container.
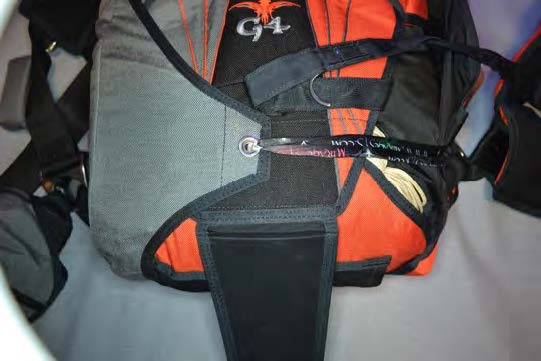
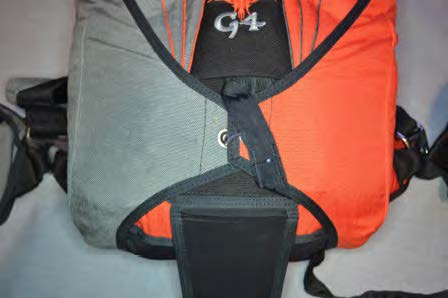
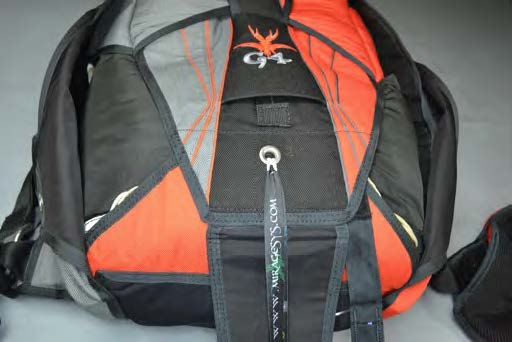
Mate the 1” pile velcro on the bridle with the 1” hook velcro sewn to the No. 2 flap.
Again, route the bridle to the right.
Close the No. 3 flap by threading the pull-up cord through the grommet on the No. 3 flap and pulling to the right.
When you are ready to start pulling, lift your knee from the No. 2 flap, and when the closing loop is completely through the grommet, return your knee on top of the No. 3 grommet and closing loop.
Make sure that you don’t allow the packed bag to be pushed out the right side of the main container as you close the No. 3 flap.
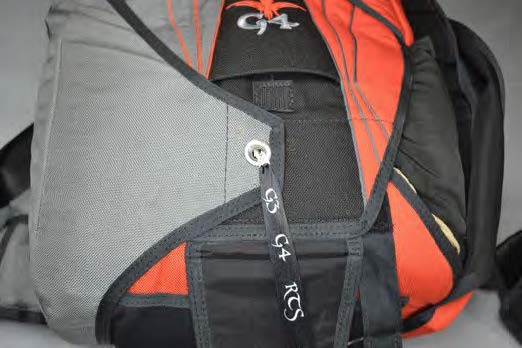
Close the No. 4 flap by threading the pull-up cord through the grommet on the No. 4 flap and pulling to the left.
Make sure the bridle is routed upward from the velcro and away from the No. 4 flap.
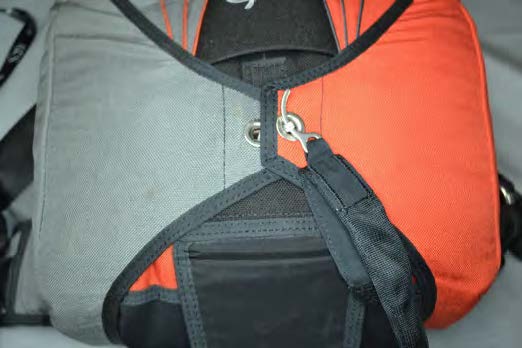
When you are ready to start pulling, lift your knee from the No. 3 flap, and when the closing loop is completely through the grommet, insert the curved pin on the bridle through the closing loop.
Close the main pin cover.

Important!
- If using a collapsible main pilot chute, make sure the pilot chute is cocked by verifying that the blue mark on the kill line is showing in the bridle window near the curved pin.
- Do not exit the bridle out from under the left side of the No. 2 flap and back across the No. 2 flap left to right. This can result in a slow opening or a pilot chute-in-tow malfunction. A label is sewn inside the main pin cover flap showing a diagram of the standard bridle routing.
- With the standard bridle routing, curved pin direction, inserted up or down, is a matter of personal preference.
- Always get a pin check before each jump when boarding the aircraft.
Alternate Bridle Routing
Note – An alternate bridle routing sequence has been tested and may be used if desired. Consult with your instructor or a rigger before attempting.
Route the bridle directly from the top of the bag down to the lower right.
Do not mate the 1” velcro on the bridle with the 1” hook velcro on the No. 2 flap.
Pull the closing loop through the No. 2 flap.
Close the number 3 flap.
Close the No. 4 flap over the bridle with the bridle exiting the main container from under the No. 4 flap on the bottom right.
Verify that a collapsible pilot chute is cocked, then fold the bridle webbing in half away from the curved pin and pin the closing loop.
Push the excess bridle back under the No. 4 flap, making sure that there is plenty of slack between the top of the deployment bag and the curved pin to allow the pin to be extracted by the pilot chute.
The end of the curved pin will be facing the top of the main container.
Tuck the remaining bridle under the bottom edge of the closed No. 4 flap, working your way from the center to the bottom corner of the main container, in preparation for folding the main pilot chute.
Route the bridle to the lower left and reverse flaps 3 and 4 if using a left side BOC.
Close the main pin cover.
No bridle should be exposed.